Showing posts with label gex garcia. Show all posts

Thursday, July 19, 2012

MUST-HAVES FOR EVERY BASIC MAKE UP KIT


When you're just starting to get to know make up, the hardest part of it really is, "What should I buy?" I'm sure you've experienced buying make up from a store and coming home thinking, so....how do I use his again??? And you end up never using it. There are so many products that you can purchase in the market and I know how confusing that can get! 

In this post, I'm going to give you the 10 things every girl needs in her everyday make up kit. These are the most BASIC make up products so make sure you have these before falling for those other products you don't really need but can explore later on. These products will help you achieve flawless make up for your everyday looks, whether you're going to school, work, or going for a night out with friends.


1. Powder Foundation - Every girl needs a powder to look fresh all day. Even if your skin is flawless, you'll need it. It will help seal in your make up making it last longer plus avoiding that shiny and oily look (yuck!) you get after hours of being out and about! (You can opt to add liquid foundation to your kit if you want heavier coverage)

2. Concealer - We all wish we had no acne, no sun spots, no blemishes whatsoever, and no dark circles. Unfortunately, even the most perfect of complexions still need a little concealing here and there. Conceal your blemishes and make sure to set it with powder ;)


3. Blush - Apply a pinkish blush on the apples of your cheeks, just to add some color into your face. Make sure you blend to make it a natural flushed look.


4. Lipsticks - I recommend every girl to have and wear lipstick. If you're not a fan, stick to colors close to your lip color. I recommend having at least a pink, red, and a natural shade in your kit. Even if your eye make up is simple, a nice lipstick can immediately make a statement! 


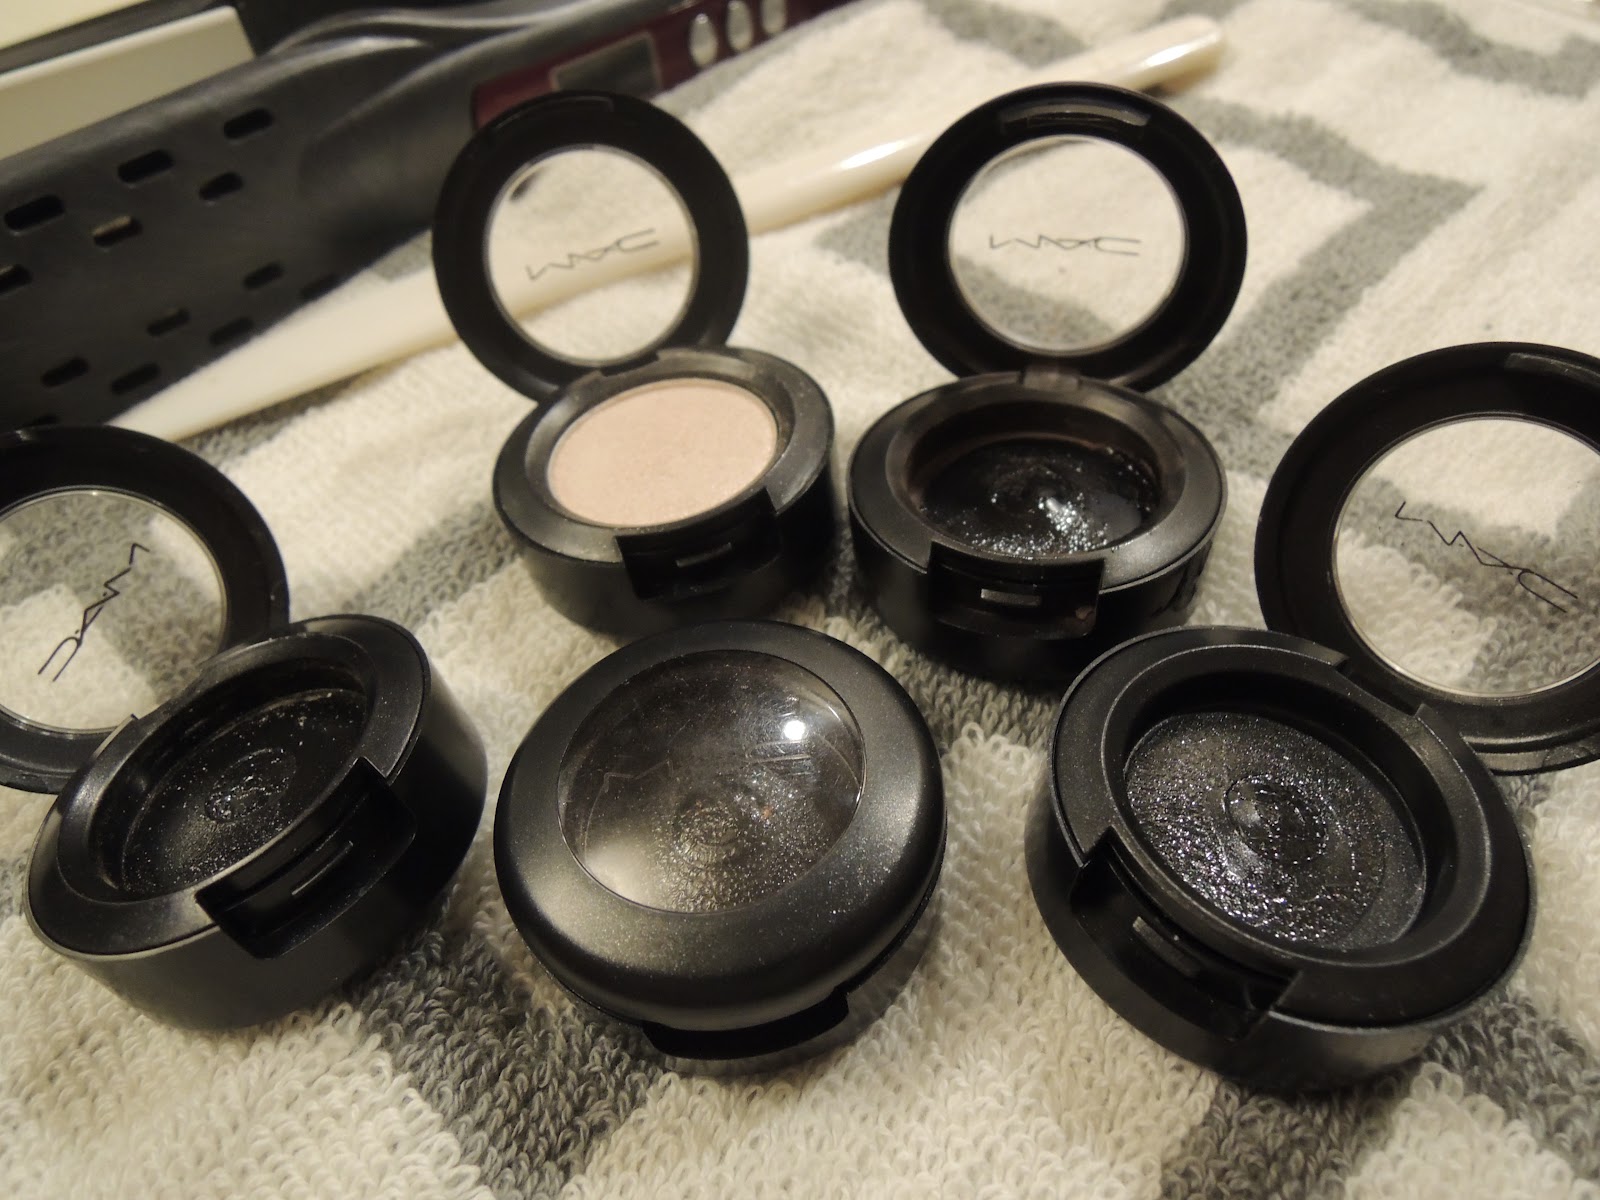
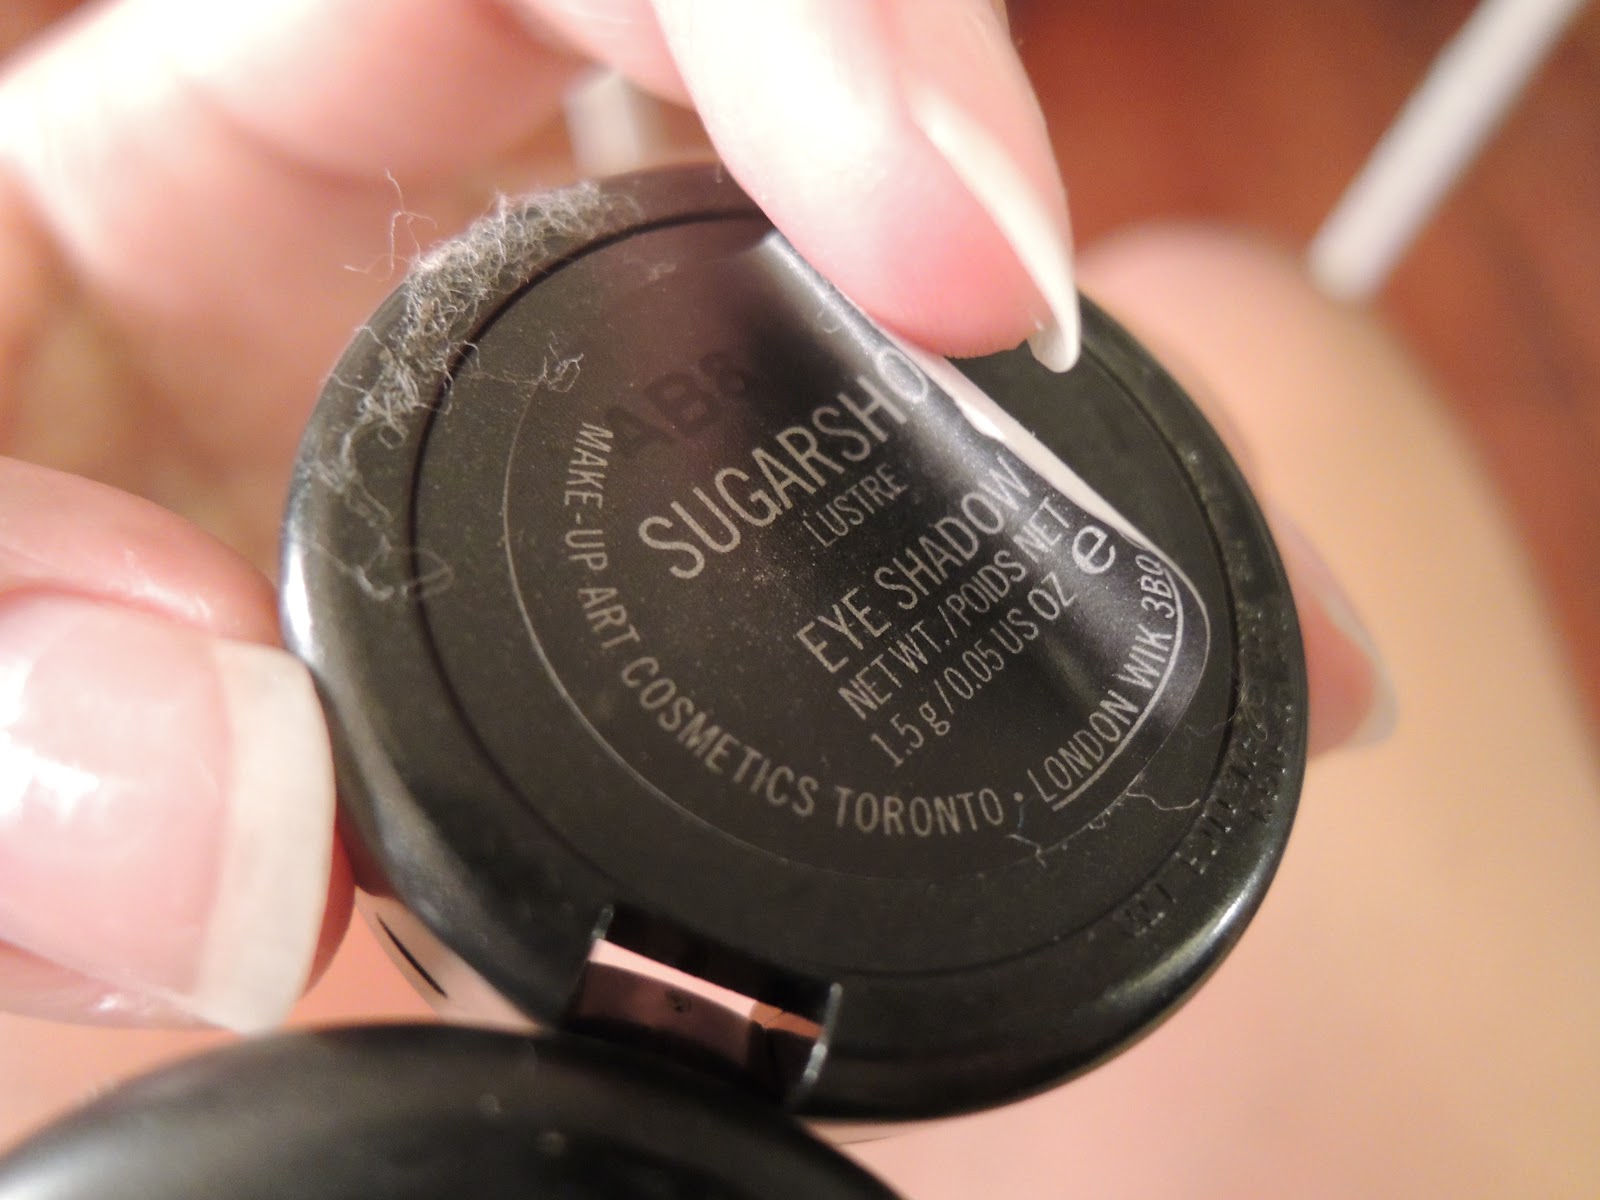
5. Eyeshadow Palette in Earth Tones - Browns and Pinks flatter almost every girl's skin tone. It's amazing how a little eyeshadow can make a difference in our sleepy, tired eyes. You don't have to be an expert in applying eyeshadow, just don't use too many colors if you're still practicing! One shade will do for a beginner, just to open up your eyes. (I'm due for an eye shadow tutorial, soon I promise!)


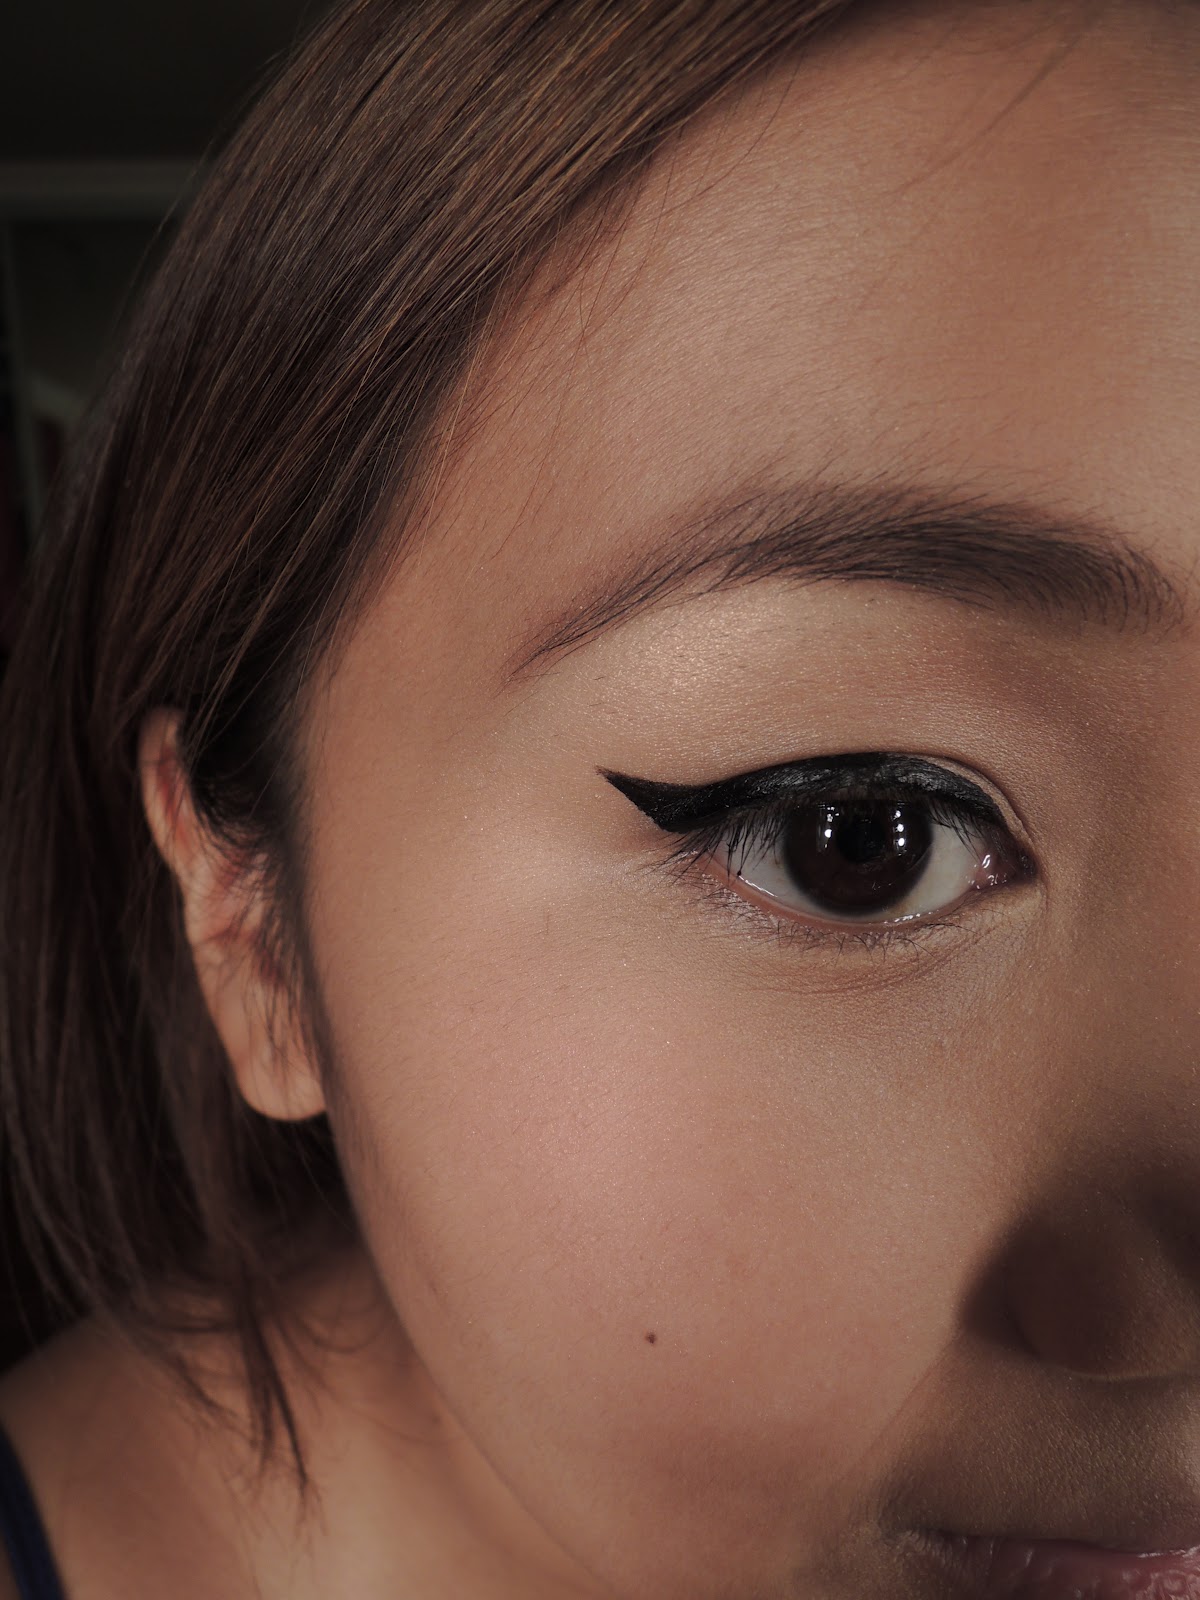
6. Eyeliner in Black and Brown - Eyeliners instantly make your eyes open and look more defined with eyeliner! It doesn't matter what kind you use -- pencil, gel, or liquid. Don't skip this. It makes a HUGE difference.


7. Eyelash Curler - Open up your eyes even more by curling your lashes. It makes you look more feminine and your eyes look extra flirty. You won't regret it!


8. Black Waterproof Mascara - Of course, after curling your lashes, apply mascara! I recommend it to be waterproof because we don't want it sliding and smudging throughout the day. You can turn  your work make up into night make up and trust me, IT WILL STAY ON.


9. Eyebrow Pencil - Groomed eyebrows, as I've said in my previous posts, frame your face and give you a more polished and glamorous look. If you don't care to look at your eyebrows, other people do. And it will unfortunately make your face look untidy especially if you have a lot of stray hair so please, keep your brows neat :)


10. Moisturizer with SPF - I know this isn't counted as make up, but I believe that nice make up starts with good looking skin. Apply moisturizer religiously, before applyting make up in the morning and before going to sleep. I assure you that you will definitely see good results in your skin after a few weeks. :)


EXTRA TOOLS/ESSENTIALS FOR YOUR MAKE UP KIT: (these are some of the tools I feel you need in applying the products above, for a more flawless and polished look)


1. A Fluffy Powder/Blush Brush - Use it in applying your face powder and your blush, to make the coverage even throughout your face. I prefer brushes over sponges because sometimes sponges lay it on too thick for my liking.


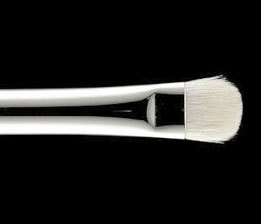
2. Eyeshadow Brush - I personally never liked those small applicators that come with eye shadow palettes. One, it's difficult to blend your eye shadow with it. Two, they get lost or they get ruined after a few weeks of regular use. This is why I recommend a brush. Blending is a must in eye shadow.


I hope this guide helps you start your make up kit! :) Feel free to comment! :)

Tuesday, July 17, 2012

HOW TO: Winged Eyeliner with L'oreal Super Liner

photo from polyvore.com


This is my favorite make up look for myself. It's easy, quick and I barely have to apply any eyeshadow. The eyeliner should speak for itself.

I know it looks harder than it actually is, but trust me that it really is easy.

I usually use a liquid liner (the finer the tip, the easier to do it) or a gel liner with an angled brush. It's difficult to achieve the perfect "wing" with a pencil, because you can't control how thick/thin the pencil liner goes on. For this particular look, I used L'oreal's Super Carbon Liner. It has a fine tip and you're good to go with one swipe.


Step one:

Just apply your eyeliner as you usually do on your whole upper lash line.


Step two:

Following the natural slant of your eye, draw a line depending on how high or long you want your wing to be.


Step three:

From the tip of your line, just fill in the wing going towards your lash line, making a slanted triangular shape.This will give it a more pointy tip.


And you're done! Hope this helps! Please leave a comment if you have any questions :)


TIP: 
For a more wide-eyed look, I placed false eyelashes and white eyeliner on my lower waterline :)


Sunday, June 24, 2012

Red Lipstick : It's just not going anywhere

I have to admit that back when I was younger, I would DIE if I had to wear red lipstick. I found it too old and just not me.

Oh, was I so wrong.

After working at M.A.C, playing around with the shades of red lipsticks they had, I finally found my match. The shade, the texture, I absolutely LOVED it. Now, I can wear red lipstick even if it's before noon.

I know wearing red lipstick can be intimidating. It really is, actually. But we have to admit that red lipstick is going to be around for life. I guess being able to carry red lipstick radiates a different confidence and adds instant glamour to your day-to-day look. Also, finding the perfect red shade instantly brightens your face without the extra effort.


My personal favorite is M.A.C's Viva Glam 1. I recommend keeping your eye make up simple especially if you want to go all out with your lips. :)

I just used THE BODY SHOP's Shimmer Waves for my eyes and for my cheeks! It's perfect for  keeping your make up light and simple :)
I suggest visiting a make up counter and checking which red brightens your face. It helps if you know your skin's undertone whether it's cool or warm. :)

Have fun looking for your perfect red lipstick! :)

Saturday, June 23, 2012

How to apply Mascara :)

As simple as it sounds, not everybody knows how to apply mascara. I used to think I didn't really need to apply mascara because I didn't think it made a difference. I was wrong. It really helps in opening up my eyes and helps me to look more fresh and awake, especially if i'm not wearing eyeliner.

I know what you're thinking...how complicated can mascara be, right? Don't you just swipe the wand on your lashes and you're good to go? No, not really. Haha! There are a few tips that you can do so that your lashes look natural and curled the whole day. Whether you're using something pricey or whatever, these steps should help you out :)

Step One:
CURL. Unless you're one of those lucky girls who have naturally think and curled lashes, always curl before applying mascara. Just squeeze your curler close to the base of your lashes going outward. This helps make the curl look natural. I notice a lot curl their lashes after applying mascara! That's a big no no! This destroys your lashes and may break/pull them. :( 


Step Two:
Apply mascara at the base of your lashes first in a zigzag motion, depositing most of the product there. It helps make your lashes fuller and serves as the base of the mascara so that it'll stay curled all day.


TIP: Use waterproof mascara (especially if you're going for a night out or for a day at work!) This makes it sweat-proof, long-wearing and you won't need to worry about having raccoon eyes by the end of the night.


Step Three:
Apply minimum mascara towards the tips of your lashes. Don't lay it on too think because when the tips are too heavy, your lashes will droop instantly. Make sure you don't pump your wand into the tube to "get more product". This causes air to enter which makes it dry out faster. Make sure there are no clumps! :)


Aside from mascara, I'm just wearing concealer, powder, blush and groomed my brows a bit. :) However, you can apply eyeliner and mascara at the bottom if you're going for a little more drama. :)

Hope this helps :) 

Friday, June 1, 2012

HOW TO: Groom Your Brows


The part of your face that you can change the most dramatically is your eyebrows. You can have them thick, thin, dyed, etc. When shaped correctly, it can make your eyes brighter than they naturally are. It also makes you look more feminine. No matter how beautiful your make up is, messy eyebrows will just throw everything off. That's why it's important to wax or thread to keep your brows neat.

If you have no idea how to shape them, it's best to have a professional do it in the salon. I recently had mine done in Piandre in Eastwood by Ms. Au, and I was really impressed. I've always had a difficult time with my own brows because my arch is non-existent. I don't recommend plucking, since I found out recently that it makes your skin sag with all the repetitive pulling :(
My un-filled brows. 


How to Shape: Using a pencil, find your eyebrow shape with the guide below:

A - The  beginning of the eyebrow should begin above the inner corner of your eye
B - The end of your eyebrow
C - Where your arch should be

When you've achieved your desired shape, it's time to fill them in:

Option One : EYEBROW PENCIL

Using light and feathery strokes, fill in your eyebrows with a light brown/dark brown pencil (Never use BLACK). I usually start at the top of the brow, then the bottom, and connect it to the tail. Brush it lightly with an eyebrow brush to soften any hard edges. Personally and professionally, I love the L'oreal  Super Liner for Eyebrows in Light Brown.


Option Two : Brush + Brown Matte Powder (eyeshadow will do)

Using an angled brush, fill in your brows lightly with the brown shadow. Make sure it has NO GLITTER OR SHINE of any sort. Matte shadows like CORK and ESPRESSO from M.A.C are what I use for my clients. We want our brows to look naturally full!

Here's after filling out my brows: (I don't define it too much especially for everyday because it makes me look too overdone)


Wednesday, May 23, 2012

WHAT GOES ON IN MY MAKE UP CLASS


As a make up artist, I think I have learned to appreciate what a little lip gloss or blush here and there can do to a person's confidence. I honestly think that when a person feels good about herself inside and out, she's able to interact with others better and more effectively. That's why I decided to teach make up, because I believe that it's truly something we should take advantage of. :)


I've had two batches of students so far, and it has been a really wonderful experience for me. I guess I've retained my passion for teaching (Preschool was entirely different though), I still get kilig when I know I helped someone learn something new. Even if it was just to apply concealer correctly.


My class usually lasts for 4 hours which includes the lesson, the demo, and the guided self-application. I offer it to all ages and I usually have it on the weekends to groups of four or more.

Here are some of the lessons that I teach:


  • Skin Care
  • Foundation
  • Concealing
  • Shaping and Grooming your eyebrows
  • How to Apply Eye Make Up for your unique eyeshape
  • Eyeliner and Mascara
  • Applying blush and lipstick
  • Contouring
  • Which colors of blush or lipstick should you apply?
  • Day Make Up/10-minute make up for everyday
  • Night Make Up
  • Make up tricks and secrets


If you're interested to be part of my class, please send me an email at garcia.gex@gmail.com :)

Thursday, May 10, 2012

DIY : Transferring your MAC Eyeshadow to the Palette

My make up kit was getting a little too crowded, and I decided that I had to save as much space as I could. I have to admit, I'm not as young as I used to be and carrying my make up kit is taking its toll on my back (haha)

I figured that I could transfer my MAC eyeshadows to the palette, because they come in individual packaging and it was just taking up too much space. With the help of Youtube and other blogs, I found the easiest way to do it.

What you need:

  • A sharp object (I used a safety pin)
  • A plastic knife
  • A straightening iron
  • The MAC Palette

Step One
Use the safety pin to pop the top of the eyeshadow from the case. It should just easily pop out.


Step Two
Place the eyeshadow on the straightening iron for about 20-30 seconds for the glue to loosen up. (BE CAREFUL, ITS REALLY HOT.)

Step Three
Using your plastic knife or even a ballpen, slowly push the back of the eyeshadow.Avoid touching it with your fingers because it's EXTREMELY HOT. (Of course, with my clumsiness, I burnt myself twice while doing this. Haha)


Yay!

Step Four
Heat the case of the eyeshadow as well, to loosen the sticker label. We'll be sticking this behind the eyeshadow, so that it's easy to check which shade it is.
It easily comes off after heating it in the iron. 


Step Five 
Put it on the palette! :) We're finished! 


What to do with the empty cases? Hmm.